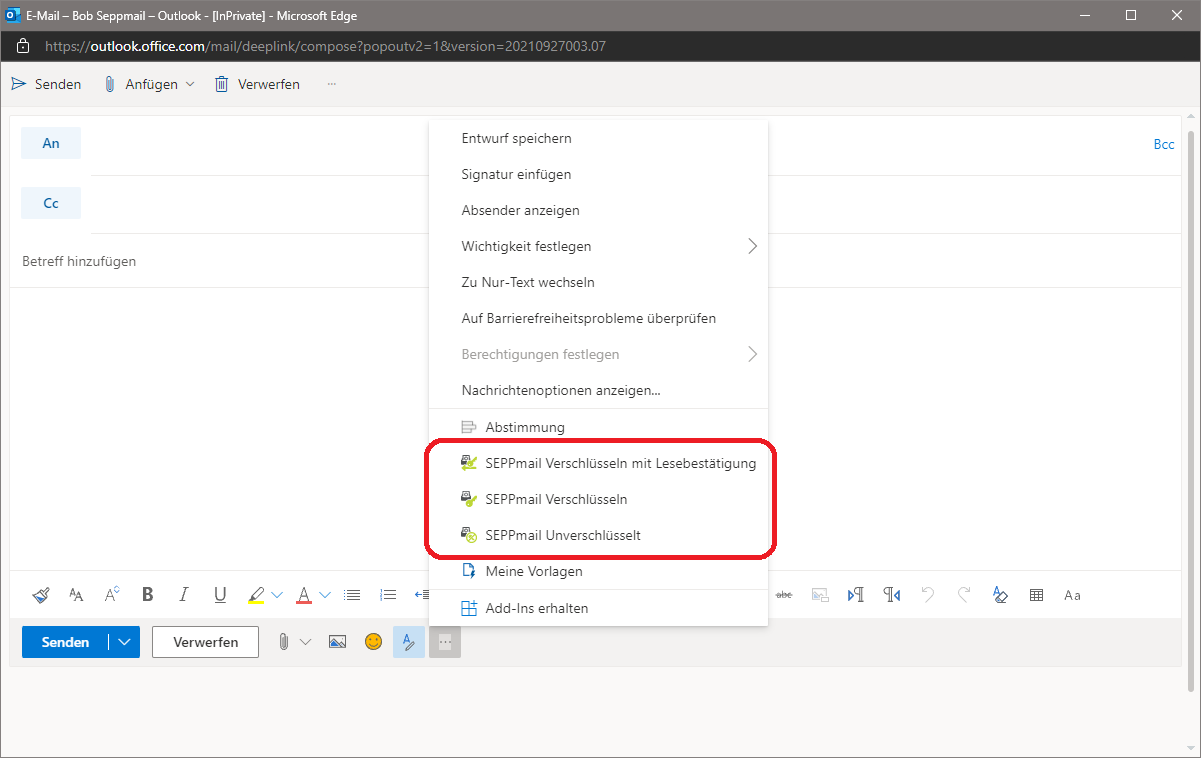
After the add-ins have been obtained, they usually do not appear directly in the function bar, but only after the extended functions have been opened

Figure 1: Outlook screenshot extended functions with SEPPmail functions
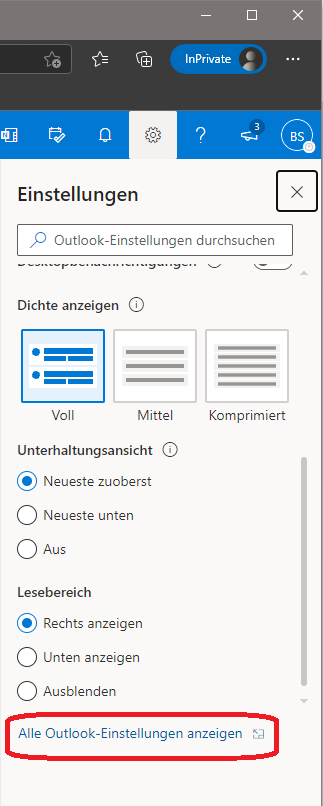
To place the add-ins directly in the function bar, first open the settings (see red arrow in Figure 2).

Figure 2: Open Outlook settings
Navigate to the menu item "View all Outlook Settings" (see Figure 3).

Figure 3: View all Outlook Settings
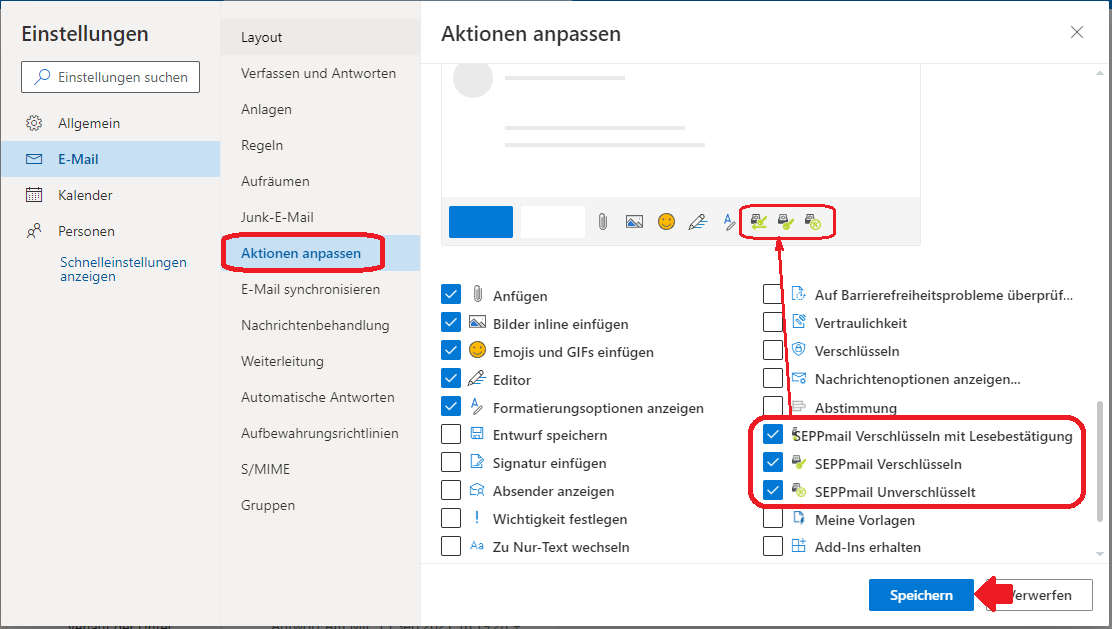
Under "Customize Actions" select the actions to be added to the function bar. Clicking on "Save" completes the setup (see Figure 4).

Figure 4: Customize actions
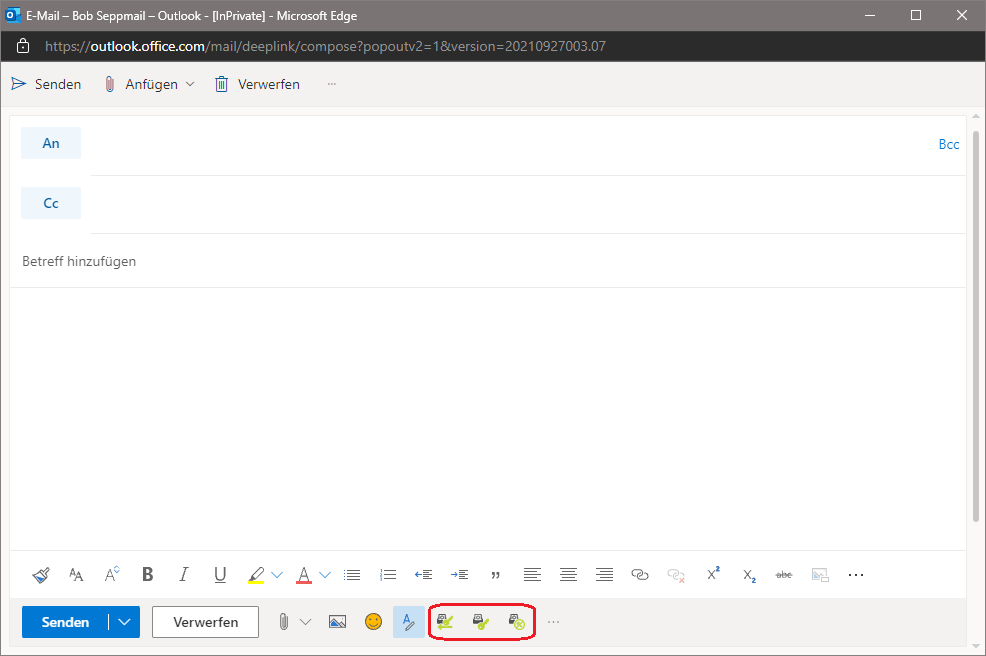
When composing an email, the add-ins are now displayed directly in the function bar (Figure 5).

Figure 5: Email editor with SEPPmail buttons