General:
Sectigo offers two quality levels, OV and EV certificates.
OV means "Organisation Validated" and is valid from the point of domain certification.
EV means "Extended Validated". Here, in addition to domain validation, a more elaborate check of the company is performed. EV certificates are therefore to be classified as having a higher value than OV certificates.
Ordering of the MPKI / EPKI access at Sectigo:
First, the access to Sectigo EPKI must be ordered. Usually, this takes place via the Sectigo subsidiary SSL247.
|
A framework agreement for the allocation and administration of X.509 certificates exists between Sectigo and GÉANT, the umbrella organisation of European national science networks (National Research And Education Network (NREN)). This framework agreement entitles all participating science networks to use the Trusted Certificate Service (TCS) certificates. The members of the TCS in the respective European member country can be found in this list.
The contact in Germany is the Deutsches Forschungsnetz (German Research Network), short DFN. The contact in Austria is the Austrian Academic Computer Network, short ACOnet (see also TCS certificates). |
Setting up MPKI / EPKI access at Sectigo:
The company through which the MPKI / EPKI access was ordered from Sectigo provides the necessary information for login at the "SECTIGO Certificate Manager".
In the "SECTIGO Certificate Manager" proceed as described here:
If the access data for the Certificate Manager is available, a few things must first be configured at this point.
It is first necessary to log in with the admin user provided by Sectigo or the TCS member.
After login, the dashboard appears.
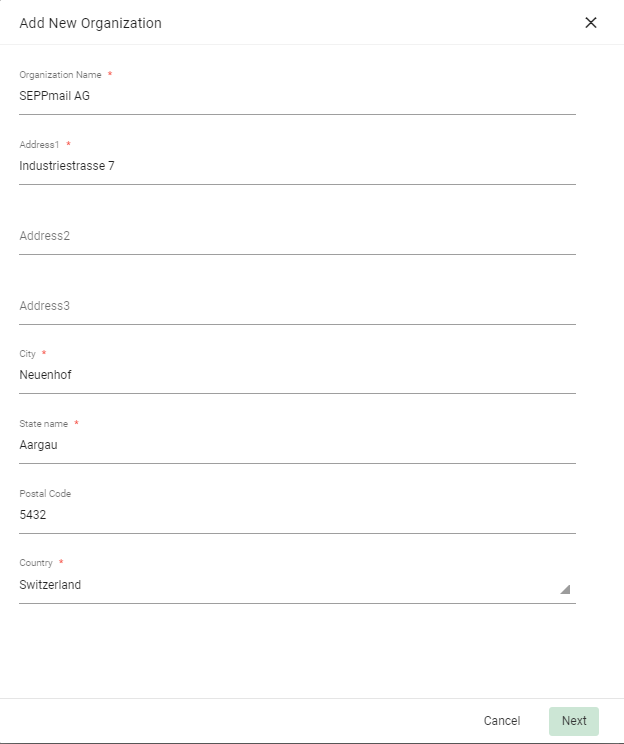
To begin with, the organisation must be set up.
Open the menu button (three horizontal lines) at the top right and navigate to “Organizations”.

Click the plus sign on the top right to create the organisation.

After filling in at least the mandatory fields (marked with *), confirm with “Next”.
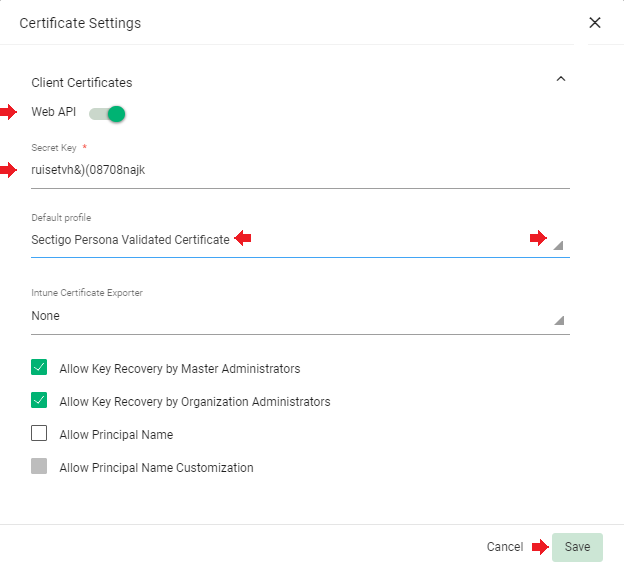
In the next menu
•activate the „Web API“,
•enter a „Secret Key“,
•select as „Default profile“ the certificate type that should later be received by the SEPPmail Secure Email Gateway automatically.
This „Default profile“ of GÉANT certificates usually differs from the certificate type shown in the screenshot.
Click “Save” to create the organisation.
In the next step, the newly created organisation needs to be validated.
For this, click on the „Validate“ button.
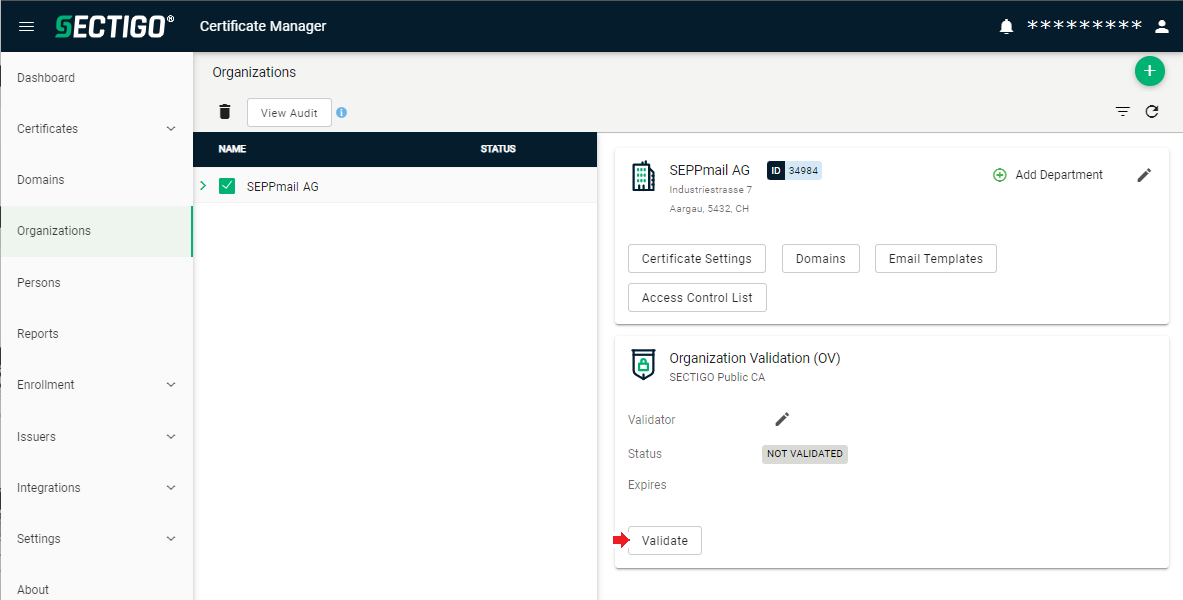
Confirm the query with OK.
The external validation process is started.
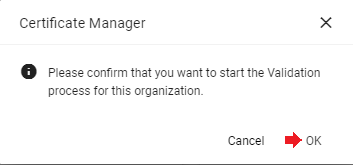
After successful validation, the „Status“ „VALIDATED“ appears.
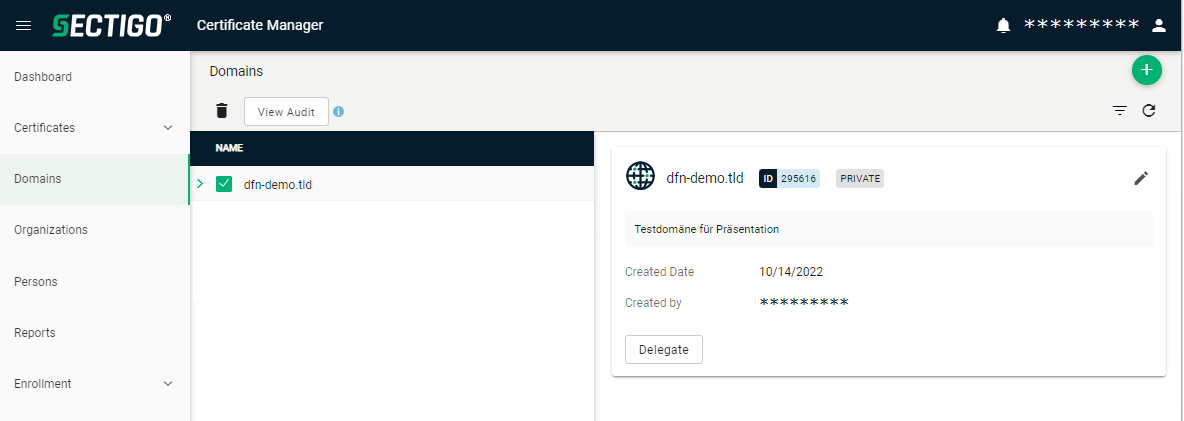
On the menu to the left, open “Domains”.
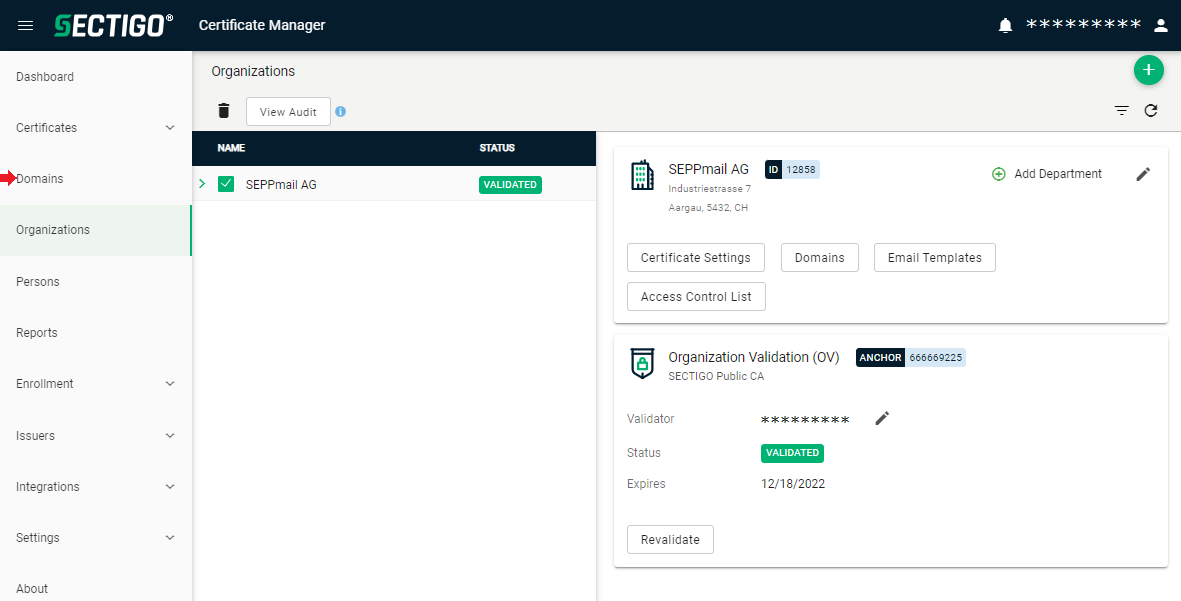
Click the plus sign on the top right to create the domain for which email certificates should be received later.

In the next menu enter the name of the email „Domain“ and optionally a description.
Select the organisation created above.
After confirming with “Save”
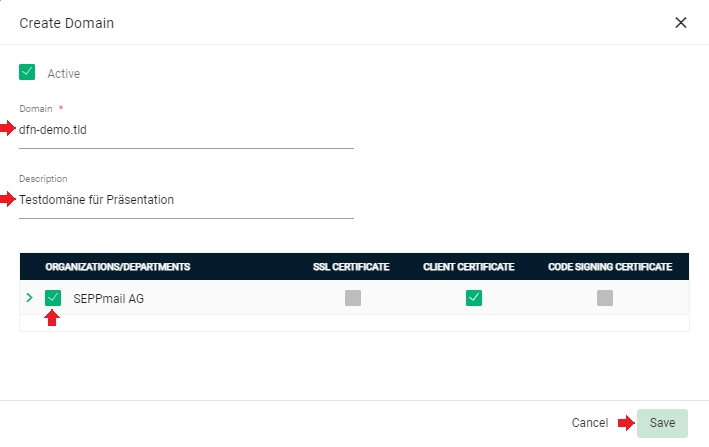
the domain is displayed.
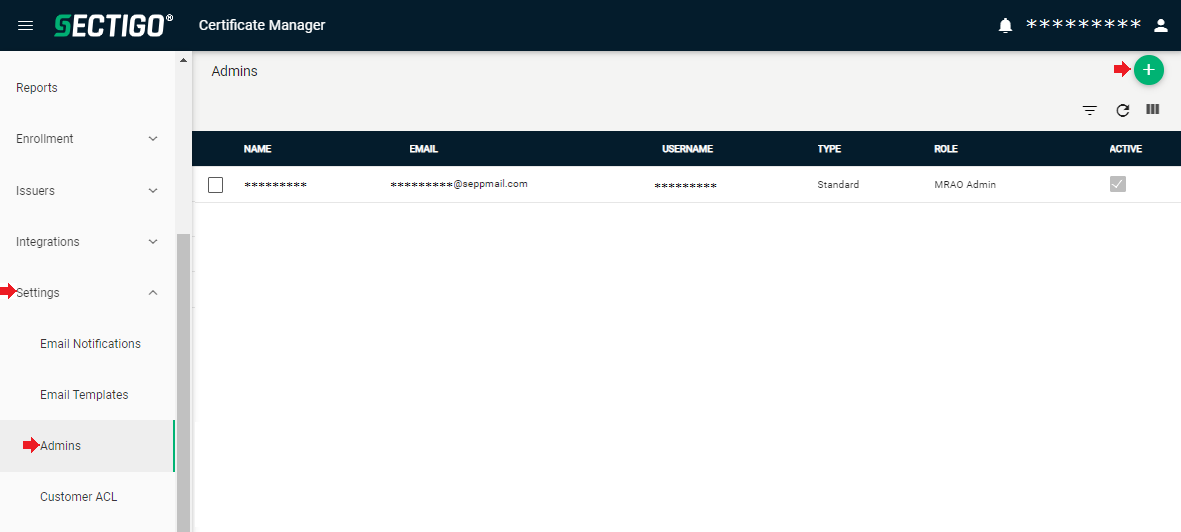
In the menu to the left, navigate to “Settings” and the menu item “Admins”.
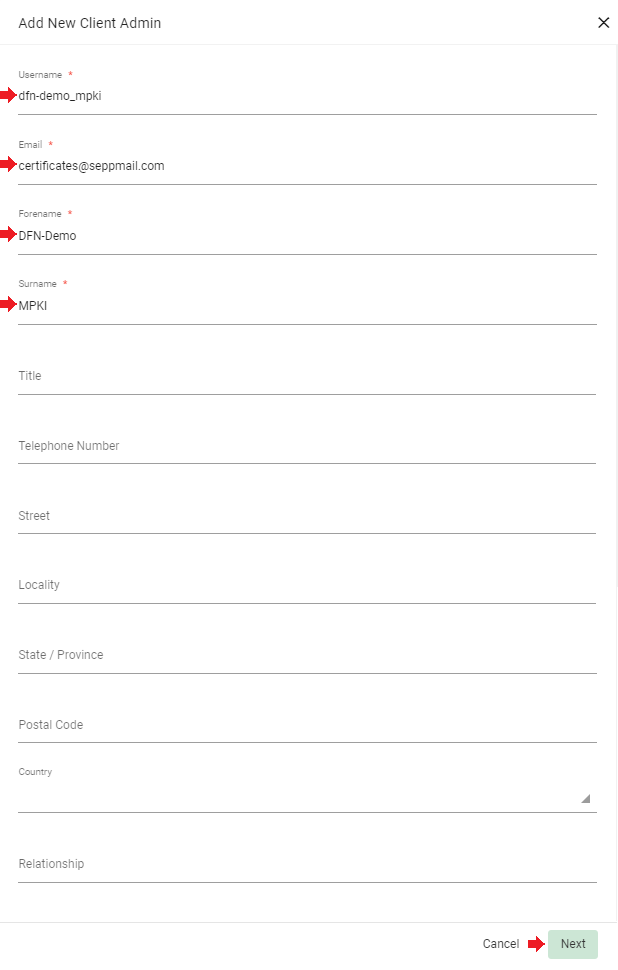
Click the plus sign on the top right to create the “Operator” user via which the SEPPmail MPKI interface accesses the Certificate Manager in the future.
After filling in at least the mandatory fields (marked with *), confirm with “Next”.
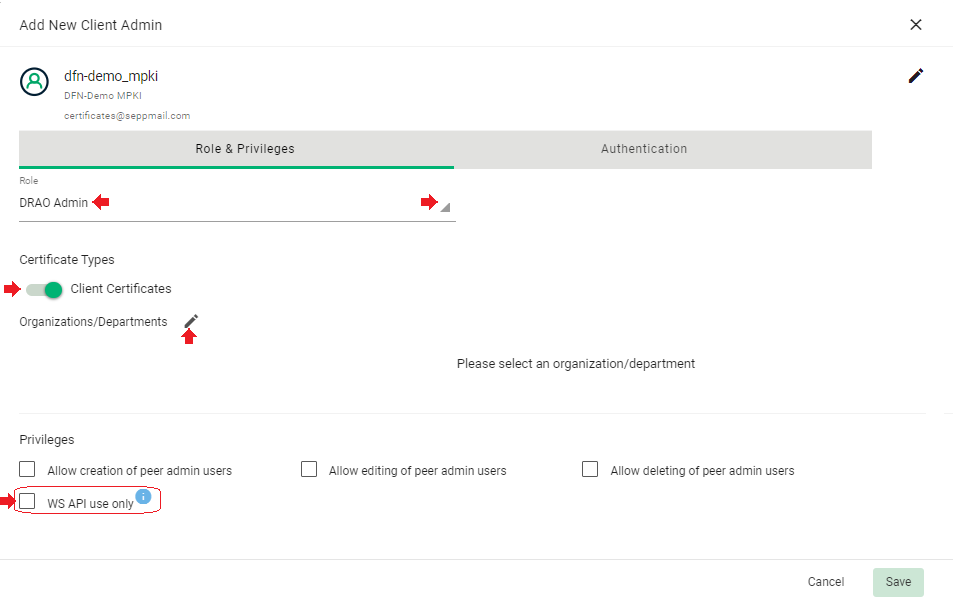
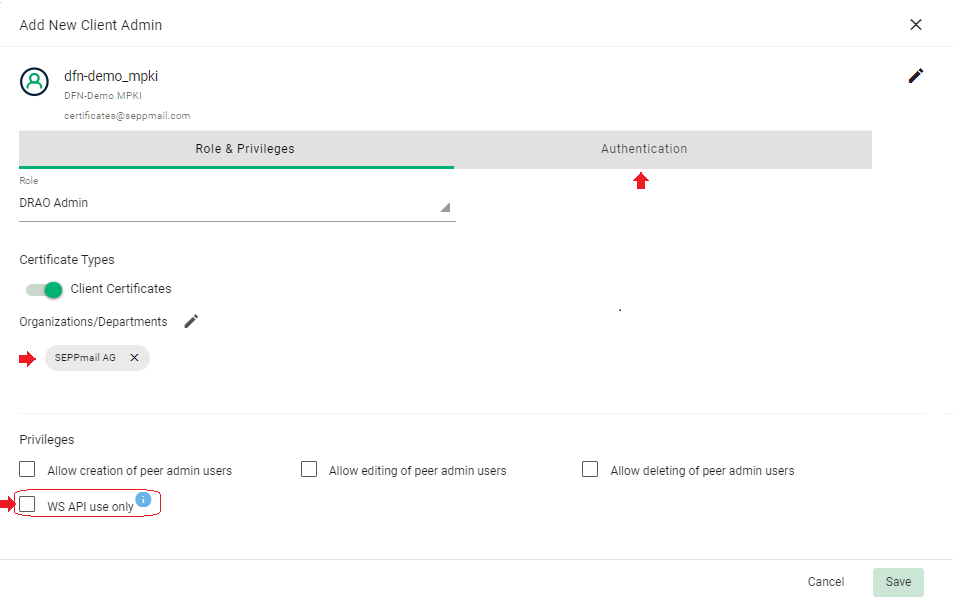
In the next window, on the tab “Role & Privileges“
•select the role „DRAO Admin“,
•under „Certificate Types“, activate „Client Certificates“,
•Do NOT yet select the necessary priviledge "WS API use only" at this point!
•via the edit (pencil) icon next to the heading „Organizations/Departments“, open the selection for the organisation.
Select the newly created organisation and click “OK”;
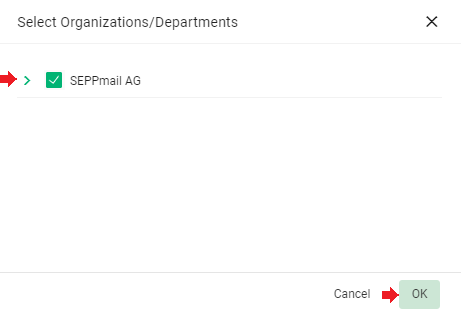
the organisation is then displayed.
It is important that the later-on necessary priviledge "WS API use only" is still inactive at this point!
Otherwise, the necessary one-time login of the Operator user would not be possible.
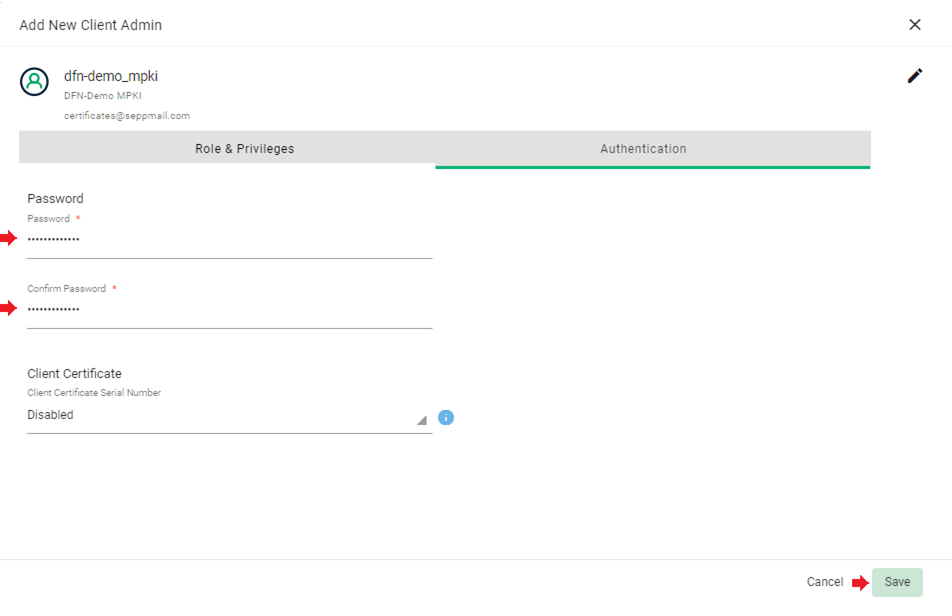
Open the tab “Authentication”.
Here, the start password of the Operator user must be entered.
With “Save”, the user creation is finished.
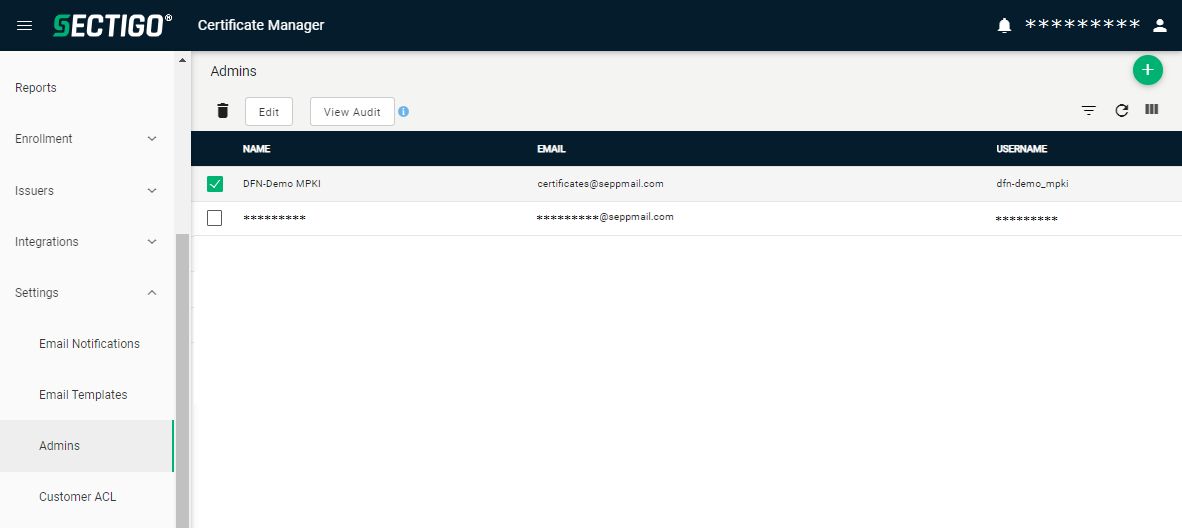
The newly created user can be seen in the overview.
The admin user now can to log off,
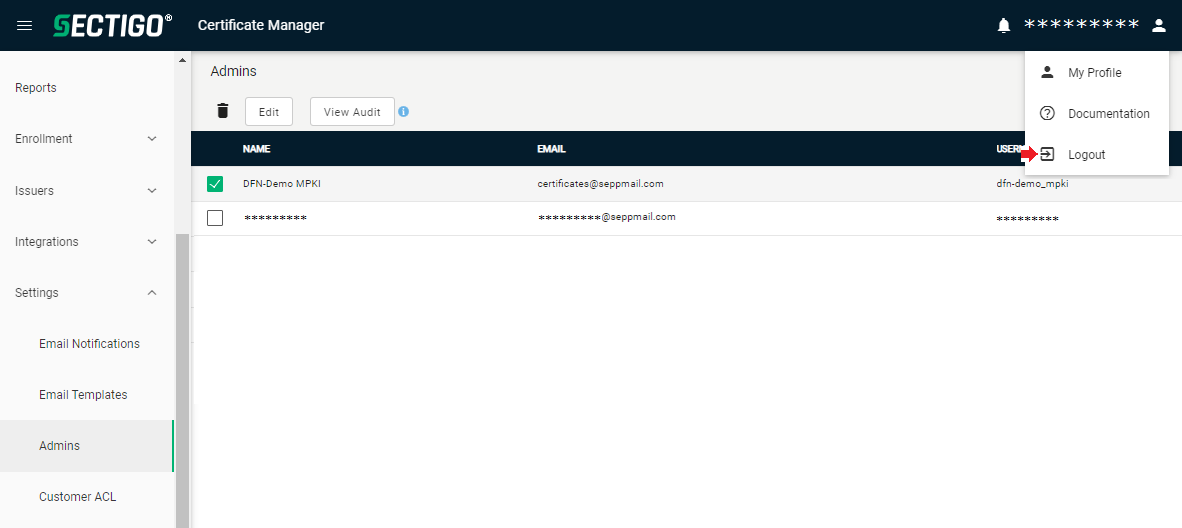
and the new user needs to log in once
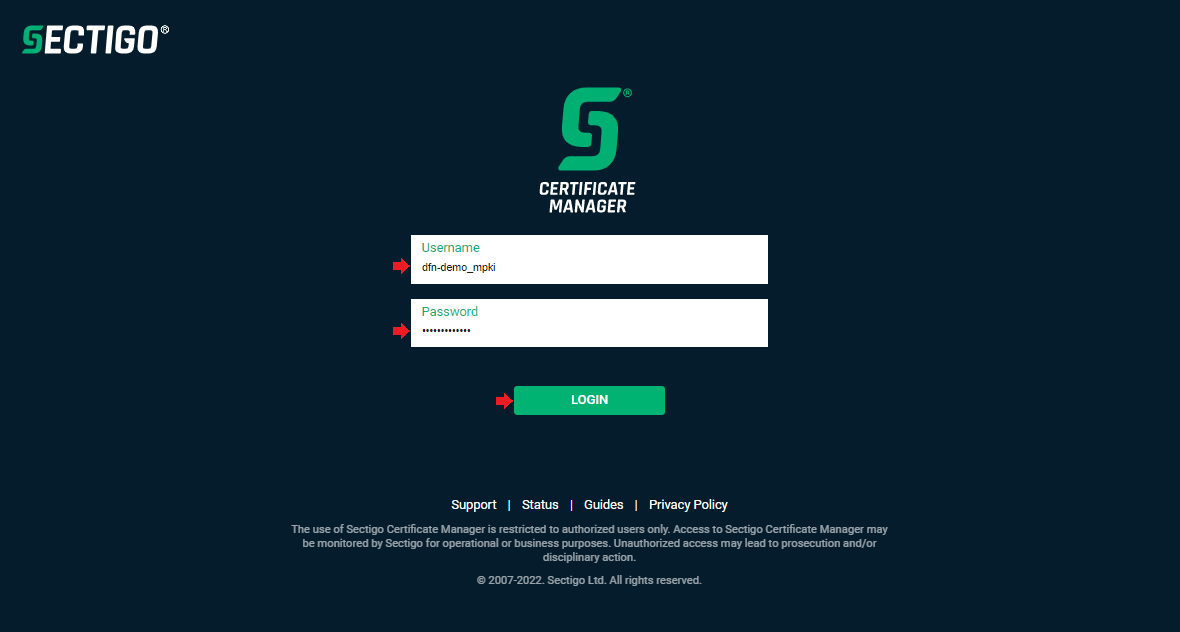
to change their password.
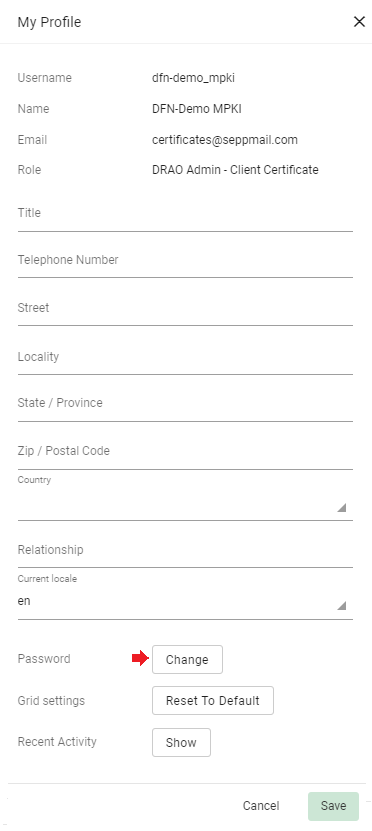
This is done by clicking on the user name on the top right and selecting “My Profile”.

In the next menu under “Password”, click on “Change” to change the password.
After entering the old password once and the new one twice, confirm with “Save”.
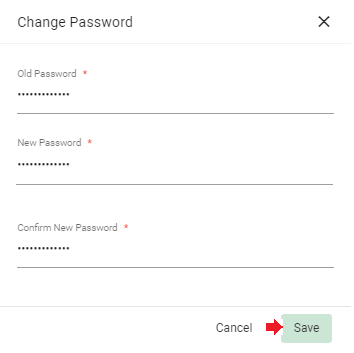
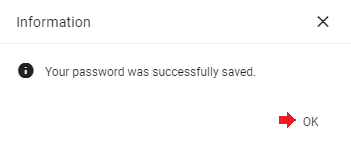
Confirm the notification about the successful password change also with “OK”.
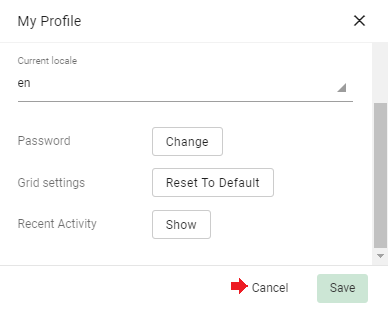
Click “Cancel” to leave the “My Profile” menu
and log out via “Logout.

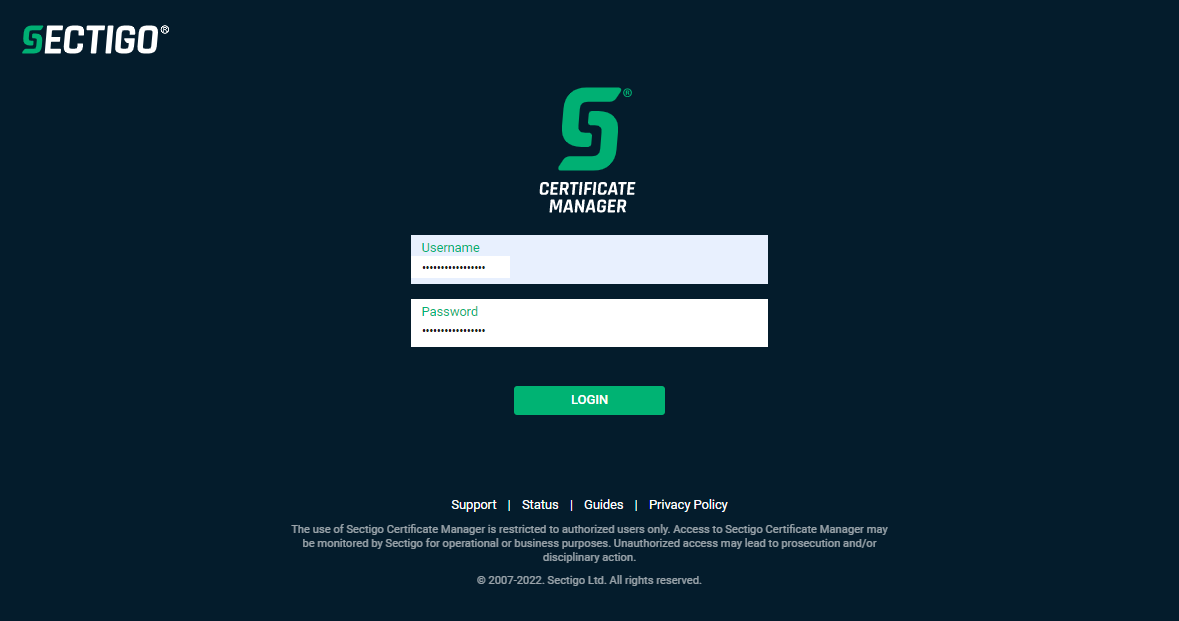
At this point, the admin user needs to log in again
to select the Operator user and via “edit”
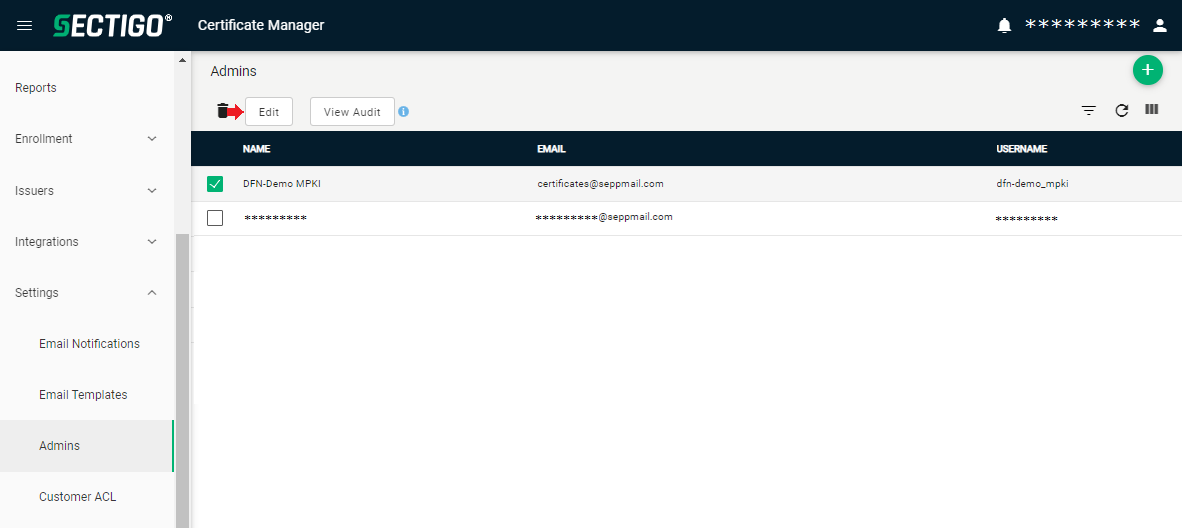
assign the necessary right “WS API use only”.
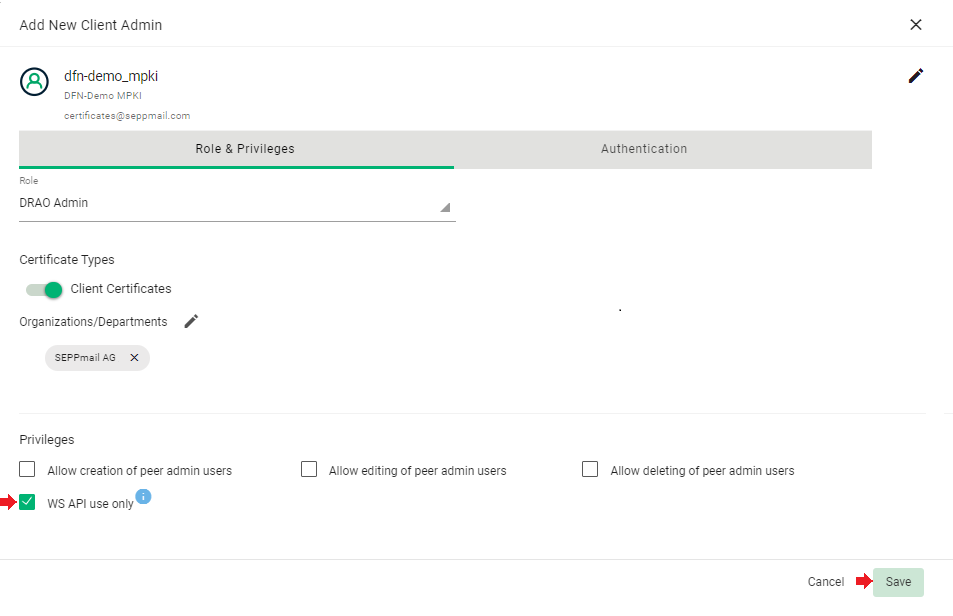
The connection setup in the Certificate Manager is thereby finished and the admin user can log out.
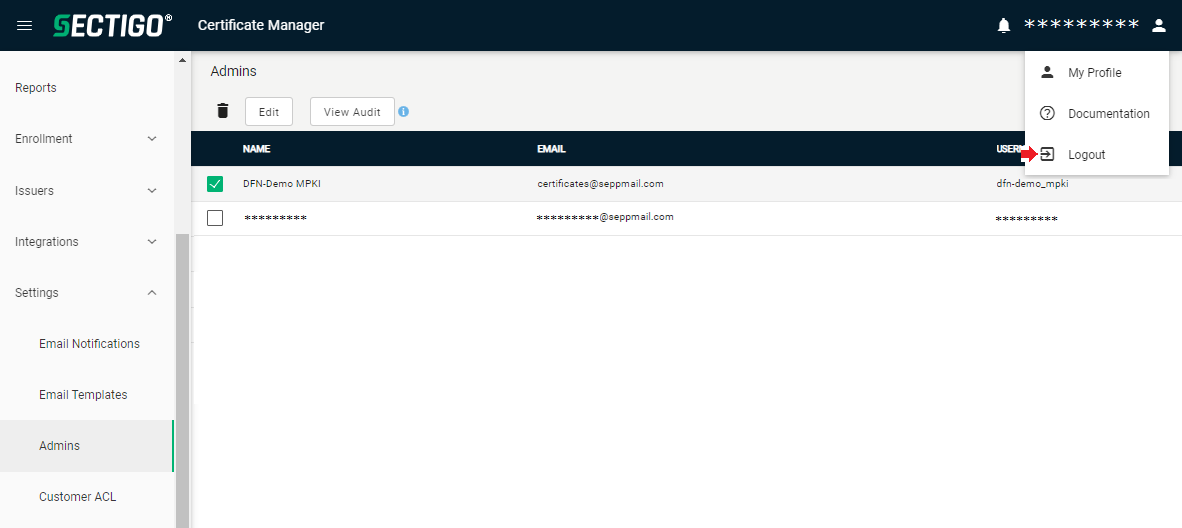
Next, the connection must be set up on the side of the SEPPmail Secure E-Mail Gateway.
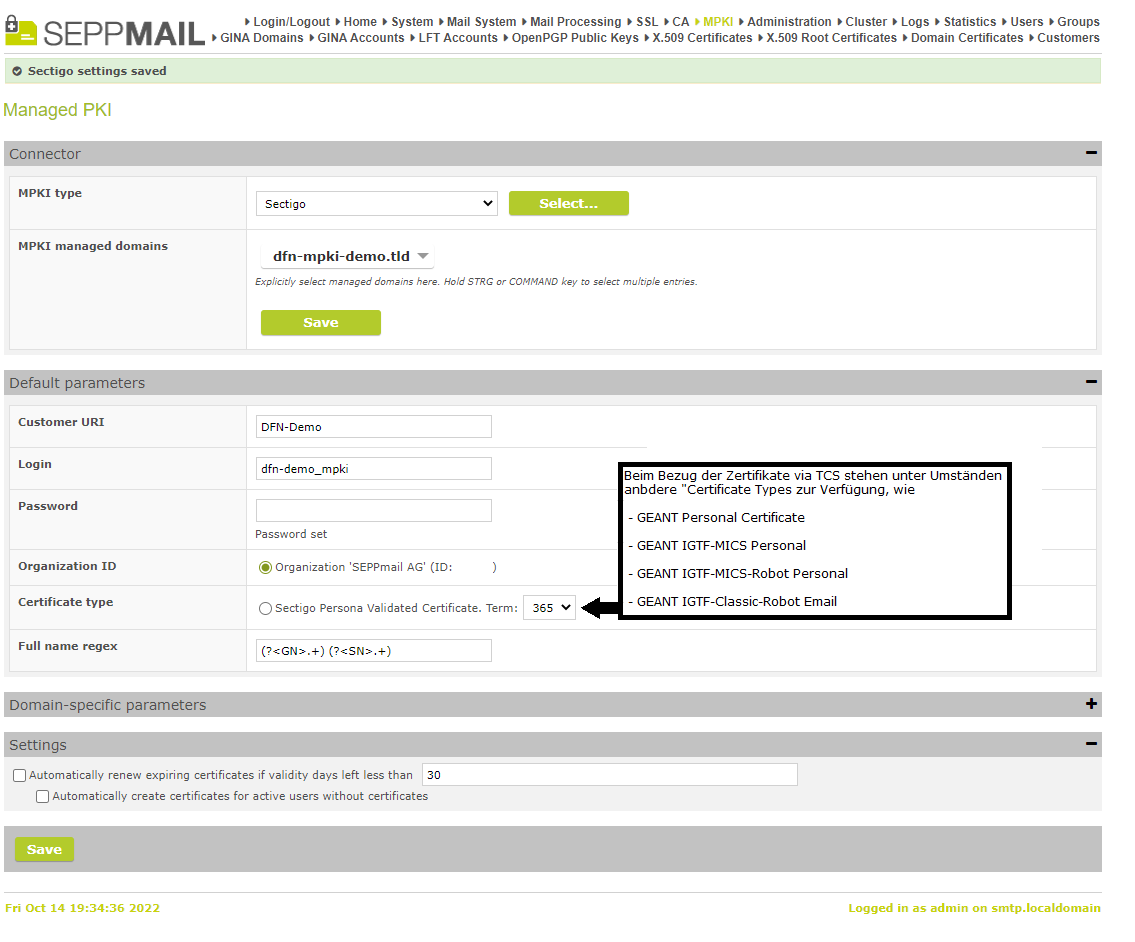
Open the MPKI menu of the SEPPmail Secure E-Mail Gateway.
In the section „Connector“ under „MPKI managed domains“, the already existing Managed Domain must be selected, whose name was set up as “Domain“ in the Certificate Manager.
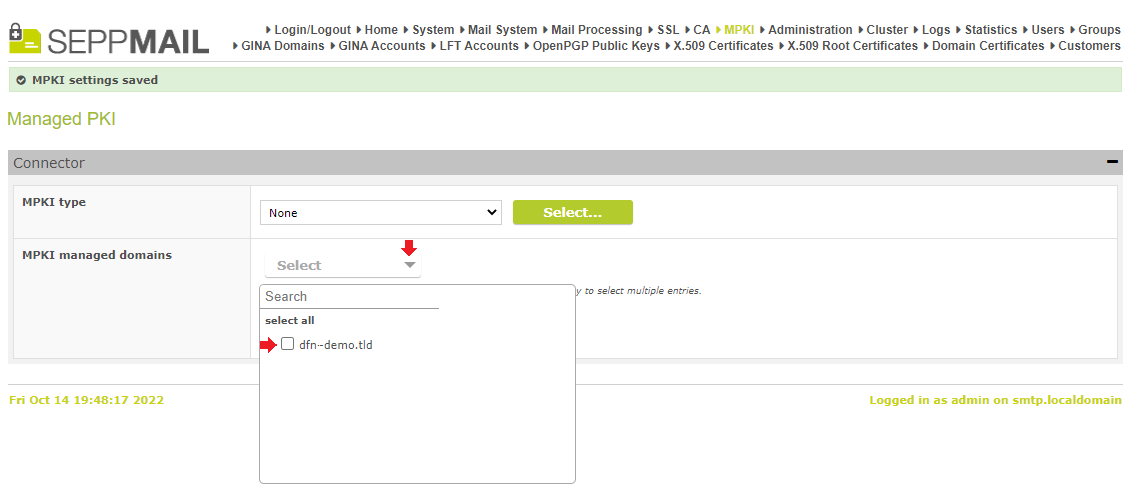
Under „MPKI type“,
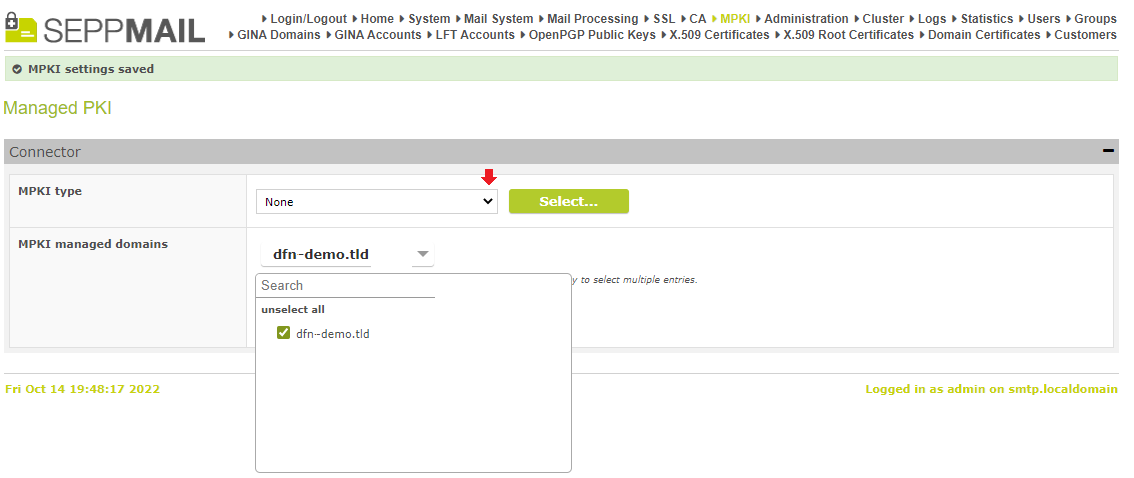
click on „SECTIGO“ and confirm with „Select…“.
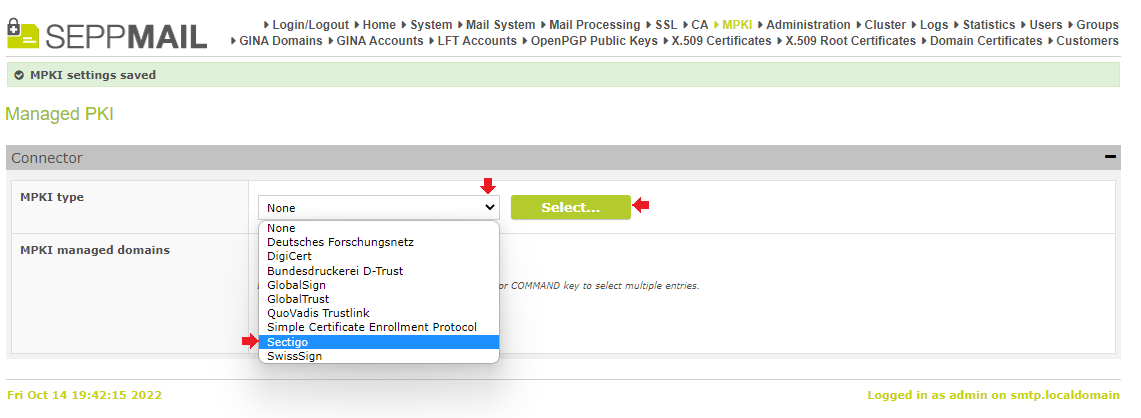
In the next step, the changes in section “Connector” have to be saved by clicking on “Save”.
In the section „Default parameters“ under
•„Customer URI“, the entry as supplied by the DFN has to be entered,
•as login the name of the Operator user in the Certificate Manager
•as password the last password of the Operator user
After saving,
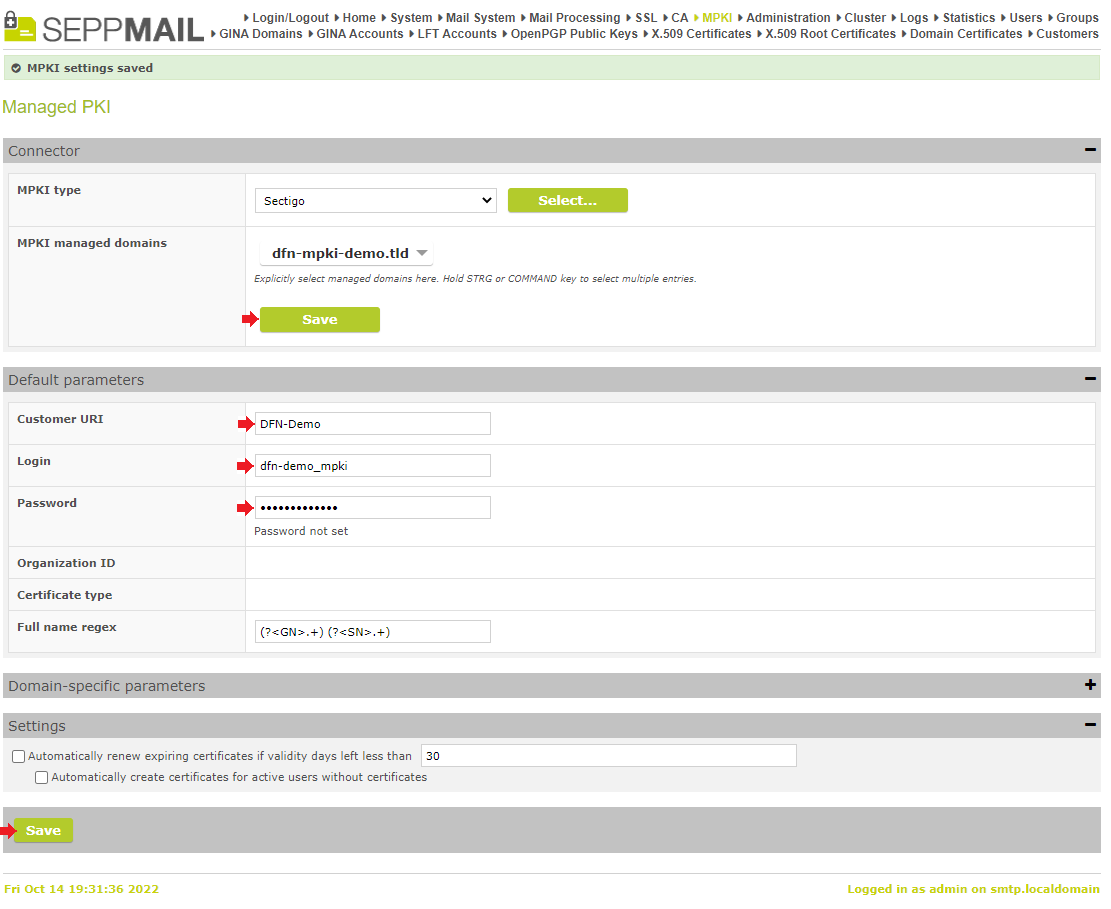
the organisation as entered in the Certificate Manager appears as „Organization ID“, and under the „Certificate Type“, the certificate type(s) selected in the „Default Profile“ appear.
The certificate type(s) of GÉANT certificates usually differ from the certificate type shown in the screenshot.
This means that the certificate type corresponding to the S/MIME certificates must be selected at this point.
In the "Settings" section, it is recommended to activate the automatic renewal of certificates with an overlap of at least 30 days.
Finish the MPKI configuration with „Save“.
